In this second post of three, guest blogger James Wyatt shares with you some more great classroom management tips using ClassroomScreen. Enjoy! Chris Kesler
Welcome back! Ready to learn more about ClassroomScreen? Previously, we covered how to load the site and place your first text boxes. Let’s dive a little deeper and look at #2 and #3 below.

#4 Importing Images

Upload your media to customize your screen.
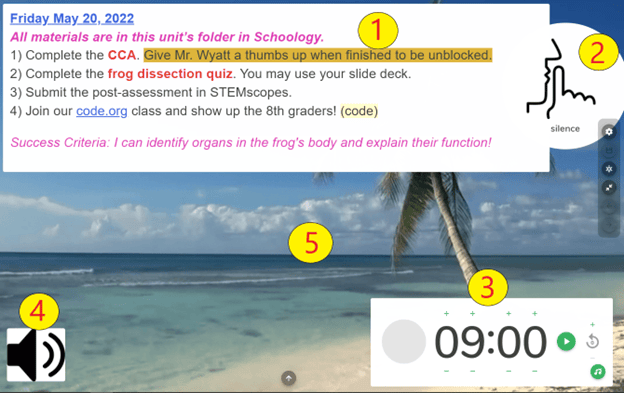
The media icon lets me silently inform the students about the status of things that change in the classroom.
For example, I use the speaker/sound icon to tell my students it’s OK to listen to music on their phones. I imported a similar icon with a red line through it to tell them they shouldn’t have anything out.
I also use this for help in the classroom by displaying a seating chart and adding a star image to identify the “Star Student.” This way I can easily let the class know who has the daily job of getting and replacing the station trays. I keep my icons in a folder on my computer so I can easily upload the icons I need for the day.
#5 Backgrounds
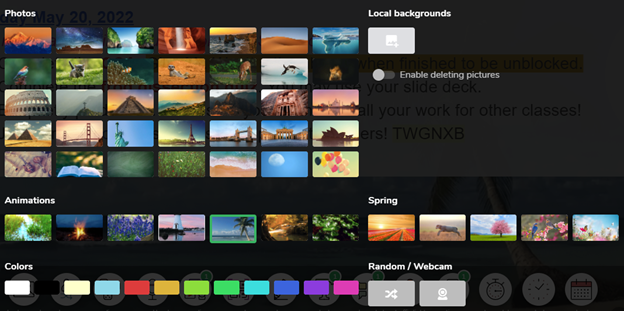
Recently ClassroomScreen has added more backgrounds, including a rotating seasonal selection to their already impressive selection of beautiful images. (That cute llama on my last post was one of the many backgrounds.) Some are animated; other options include a simple color background, a live cam feature, and uploading your own image.

These are just the aspects of ClassroomScreen I use frequently. The full menu is impressive.
Other Tips and tricks

The random name function lets you copy and paste a file of student’s names into it and utilize the program to randomly select names.
To set the noise level for your classroom, try the sound level function. It’s adjustable and gives students a visual that shows them the tolerable level of noise. Whenever the max sound has been reached, a bell goes off and the image appears red.


I use the Traffic Light to let the students know what they need to do with their laptops: green means open and work; yellow is have it out and closed; and red is laptops aren’t needed today).
The possibilities for creating an ideal workspace are unlimited with a great site like ClassroomScreen.com.
Download Over $100 in FREE Resources
For Middle School Science
Simply create a login below and gain immediate access to a selection of our Kesler Science product line worth $100 - for FREE. There's a full version of every product type! You'll also join tens of thousands of middle school science teachers who receive timely tips and strategies straight to their inbox.


